Apogee Duetta Signature Rebuild

MartinLogan Audio Owners Forum

Help Support MartinLogan Audio Owners Forum:

This site may earn a commission from merchant affiliate links, including eBay, Amazon, and others.
The idea is to get them to look Apogee like in finish - saw some worrying shots of different colours that looked odd and made some attempt to chose an anodised colour close to the final paint colour.

Decided ultimately Apogee were right with their finish. Plus I regard it as a mark of respect to the original designer, and now in the light of Bernard's cheeky non-Apogee remarks, to send him a small poo poo.:D
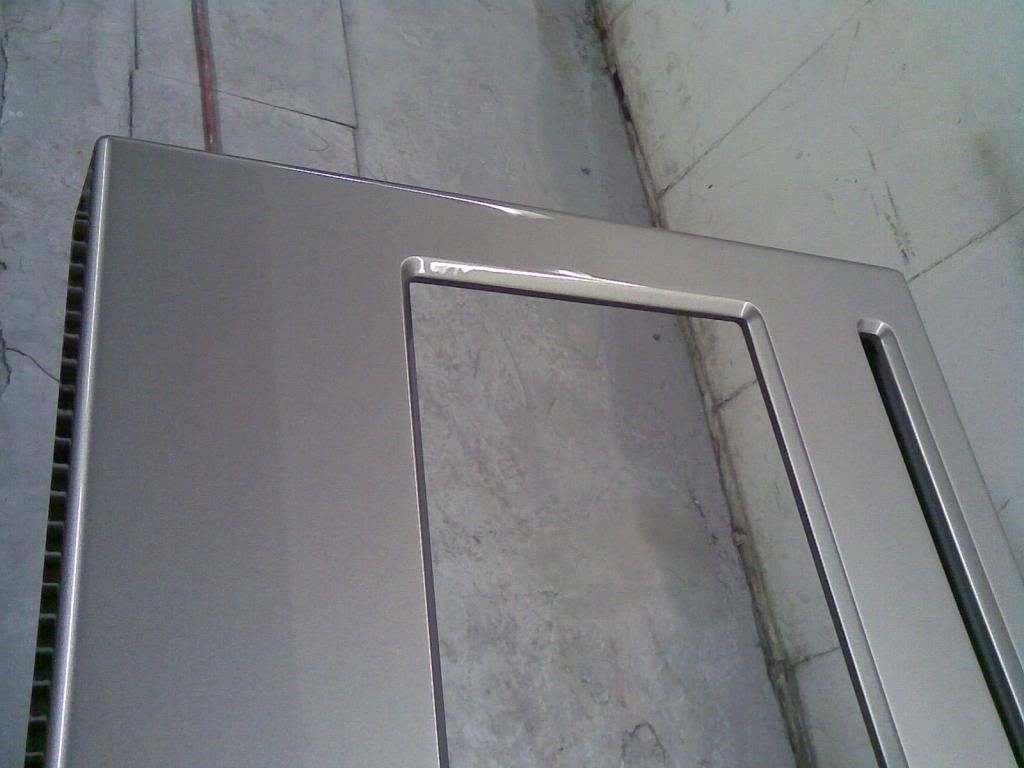
At least it's not doggy doo doo! Speaking of doo doo, did you select brown as the final colour? I think you described it as coffee, while your wife had other choice words for it.
 
What doggy doo doo typeish colour?:D Nope, I'm going for something else... but I am keeping schtum for the mo, lest you Paypal me a fee.

Anyway B, surely 'bout time you had a change of speaker, no?
 
nice.... that looks heavy duty..... I like what appears to be the stainless look.... I have no idea what color you are going with ... but they sure do look nice naked.... :)
 
They're heavier than expected apparently.... I have some high res close ups I can't post as they show how they mate with the internal aluminium speaker frame and they do need finishing - can't leave them as they are. As I said they'll be satin silverish like the Apogee finish.

We're not messing about making these. It is going to be one extremely solid planar speaker.

Bernard - when Ken's Nigerian money order arrives I'll pass you some on:)
 
Last edited:
These are similar to the ones I did for my Duetta Signatures. Mine have an adjustment screw at the back and a half ball foot on the front, so I can adjust the panel angle.
 
These'll just be spike rake angle adjustable. Works fine on the current Duettas, but the spikes will be more substantial though not that expensive TBH. Found some pretty substantial ones at a good price.
 
Cut outs for front covers done. Bass ribbon clamps and tuning mechs done. MRT assembly installed.

I have more pics but can't post them. Woodwork will be off to the paint shop soonish. Bass mag assembly and external x-overs still to do.

Looking at the pics I can't show reveals an extremely rigid and substantial assembly. If only Apogee made them like this in the first place:) But TBH the standard design was and still is capable of excellent results. How much further will this effort take the design? That is going to be interesting.
 

Attachments

  • DSCF0288.jpg
    DSCF0288.jpg
    55 KB · Views: 775
  • DSCF0289.jpg
    DSCF0289.jpg
    51.9 KB · Views: 645
  • DSCF0290.jpg
    DSCF0290.jpg
    54.4 KB · Views: 829
  • DSCF0287.jpg
    DSCF0287.jpg
    57.6 KB · Views: 719
Guys - just nice, simple passive x-overs.

Gordon - we're talking Apogee here. There has to be some drama. If you knew about some of the stories I have heard...
 
Justin,

I'm sure you have some good ones.

Hope the effort meets your expectations.

Gordon
 
Justin, I'd hope you go active on this one, really makes a difference.

Hey guys... Could someone speak about the advantages of active vs passive? I know I am missing it but I understand the advantage of changing the crossover points but is there something else here I am missing?
 
Hey guys... Could someone speak about the advantages of active vs passive? I know I am missing it but I understand the advantage of changing the crossover points but is there something else here I am missing?

Just read this timm: http://en.wikipedia.org/wiki/Audio_crossover

Rejected on the basis of cost, and heat - 8 211s in one room? Nah...:ROFL:
 
How to align bass panel magnets properly - with a CNC'd template. This one isn't completely cut - needs to be done layer-by-layer.

It is important that this is precise to ensure even field strength. Older Apogees can show some really amazingly poor magnet alignment, that keeps them way off peak performance.
 

Attachments

  • Magnet guide.jpg
    Magnet guide.jpg
    47.5 KB · Views: 764
Last edited:
Laquer drying in the paint shop. Need a mop/polish still. Pretty happy with that TBH. Though the colour does look a little different in reality - paint shop lights and grey walls etc. Jon's done a lovely job on the prep and the finish.

Image073_zps24ed43e2.jpg


Image072_zps18ef1b88.jpg
 

Latest posts

Back
Top